
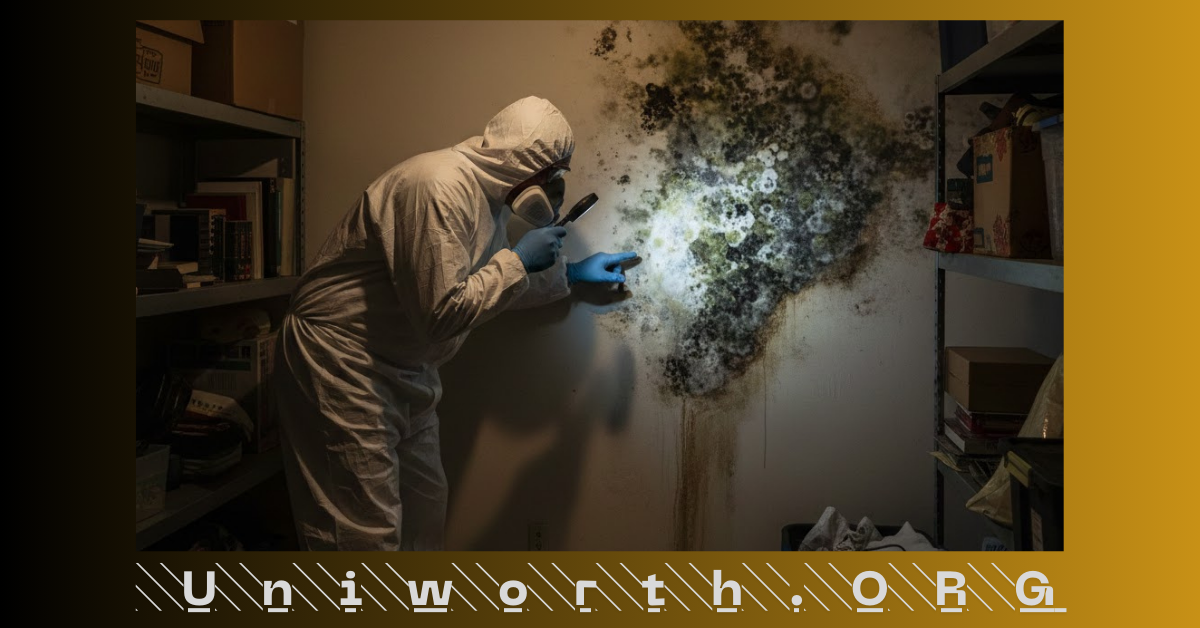
A few months ago, I walked into my storage room and immediately knew something wasn’t right. There was that faint, musty smell you can’t ignore. At first, I told myself it was just humidity. But when I moved a few boxes, I spotted it — dark patches creeping along the wall.
That was my introduction to mold problems in a very real way.
I’d dealt with small home repairs before, but this felt different. Mold isn’t just ugly. It’s stubborn. It spreads quietly. And if you don’t fix it properly, it comes back. That’s when I came across RepMold, and honestly, it changed the way I look at mold repair and prevention.
Let me share what I learned.
What Is RepMold and Why It Matters
When I first heard the term RepMold, I assumed it was just another cleaning product. But it’s more than that. RepMold refers to a focused approach to mold remediation and repair — not just removing visible mold, but actually addressing the source and preventing regrowth.
That difference is huge.
A lot of people wipe down mold with bleach and think the job is done. I used to do the same. But mold removal isn’t just about surface cleaning. It involves:
-
Identifying moisture sources
-
Repairing damaged materials
-
Treating affected areas properly
-
Improving ventilation
-
Preventing future growth
RepMold emphasizes repair and prevention — not quick cosmetic fixes.
And that’s what makes it effective.
My First Mistake: Treating Mold Like Dirt
I’ll admit it. My first instinct was to grab a cloth and a strong cleaner. I scrubbed the wall, and the mold disappeared.
For about two weeks.
Then it came back — slightly larger and darker. That’s when I realized I hadn’t fixed the real issue. There was moisture trapped behind the wall due to poor ventilation.
This is where the RepMold approach made sense to me. Instead of repeatedly cleaning the surface, I needed to:
-
Fix the humidity problem
-
Remove affected drywall
-
Properly dry the area
-
Apply anti-mold treatment
-
Seal and repaint with mold-resistant paint
It sounds like a lot. But doing it once properly saved me from dealing with the same issue again.
Why RepMold Is Different from Basic Mold Removal
1. It Focuses on Moisture Control
Mold loves moisture. Without water, it can’t grow.
RepMold strategies always begin with identifying the source — leaks, condensation, poor airflow, or even small plumbing issues. Once I fixed the airflow in my storage room and added a small dehumidifier, everything changed.
That was my first big lesson: control moisture first, repair second.
2. It Combines Mold Remediation with Structural Repair
Some mold damage goes deeper than you think.
In my case, a small portion of drywall had to be replaced. It was frustrating at first, but necessary. Proper mold remediation often involves:
-
Replacing damaged insulation
-
Repairing drywall
-
Sealing cracks
-
Treating wooden beams if affected
RepMold isn’t about covering things up. It’s about restoring the area properly.
3. It Prevents Future Mold Growth
This is the part I appreciate the most.
After completing the repair, I used mold-resistant primer and paint. I also installed a simple ventilation fan. These small upgrades drastically reduced humidity levels.
Now, months later, there’s no sign of mold returning.
That’s the power of prevention.
3 Signs You Might Need a RepMold Approach
If you’re unsure whether your situation requires something more than surface cleaning, look for these signs:
-
Recurring Mold Spots
If mold keeps coming back in the same area, there’s likely hidden moisture. -
Musty Smell That Won’t Go Away
Odor often signals mold behind walls or under flooring. -
Peeling Paint or Bubbling Walls
Trapped moisture is usually the culprit.
When I noticed the peeling paint in my storage room, I knew it wasn’t just cosmetic. That’s when I stopped ignoring the bigger issue.
Personal Tip #1: Don’t Skip the Inspection Phase
One of the best decisions I made was taking time to properly inspect the space.
I checked:
-
Nearby pipes
-
Window seals
-
Air circulation
-
Outdoor drainage
It turned out that a tiny window seal gap was letting moisture in during heavy rain.
If I hadn’t inspected thoroughly, I would’ve missed it.
So here’s my advice:
Spend more time diagnosing than cleaning.
It saves money and stress in the long run.
Personal Tip #2: Invest in a Dehumidifier
I used to think dehumidifiers were optional.
Now? I consider it essential.
After installing one in the affected room, humidity dropped to safe levels within days. Since then, I haven’t had recurring issues.
For anyone living in humid climates (and trust me, humidity can be brutal), this small investment makes a massive difference in mold prevention.
Common Areas Where RepMold Is Most Useful
From my experience and research, these areas are most vulnerable:
Bathrooms
-
Poor ventilation
-
Steam buildup
-
Grout and tile mold
Basements
-
Damp walls
-
Foundation leaks
-
Limited airflow
Kitchens
-
Under sinks
-
Around dishwashers
-
Behind refrigerators
Storage Rooms
-
Poor air circulation
-
Hidden leaks
-
Long-term moisture exposure
My storage room had two of these risk factors: poor airflow and humidity. That combination is almost guaranteed to create mold problems.
RepMold and Indoor Air Quality
Here’s something I didn’t think about initially — air quality.
Mold spores don’t just sit on walls. They float in the air. That can impact allergies and breathing, especially in sensitive individuals.
After completing my repair, I noticed something interesting. The musty smell disappeared, and the air felt cleaner. It wasn’t just psychological. Proper mold remediation improves indoor air quality significantly.
If you’ve been experiencing unexplained allergies at home, it might be worth checking hidden areas for mold growth.
How RepMold Saves Money Long-Term
At first, I hesitated because replacing drywall and buying proper treatments felt expensive.
But let’s compare:
-
Repeated cleaning supplies
-
Ongoing repainting
-
Structural damage worsening over time
-
Potential health concerns
Versus:
-
One proper repair
-
Moisture control solution
-
Preventive coating
The second option clearly wins.
I learned that cutting corners with mold problems often leads to higher repair costs later.
Simple Preventive Steps I Now Follow
Since my experience with RepMold, I follow a few simple habits:
-
Open windows regularly for airflow
-
Use exhaust fans in bathrooms
-
Check under sinks monthly
-
Monitor indoor humidity levels
-
Fix small leaks immediately
None of these take much time. But together, they drastically reduce mold risk.
Consistency matters more than expensive solutions.
Is RepMold a DIY Job or Professional Task?
This depends on the severity.
Small, surface-level mold with no structural damage? DIY can work if you follow proper safety precautions.
But if mold covers a large area or affects insulation and framing, calling a professional mold remediation service is smarter.
In my case, I handled the repair myself because it was contained. But I made sure to:
-
Wear protective gear
-
Seal off the area
-
Dispose of contaminated materials properly
If you’re unsure, always choose safety first.
Final Thoughts on RepMold
Looking back, I’m almost grateful for that first mold scare. It forced me to understand how moisture, ventilation, and structural repair all connect.
No more recurring stains.
No more musty smell.
No more temporary fixes.
Just a healthier, cleaner space.


Leave a Reply